Flask with Amazon S3 Part III
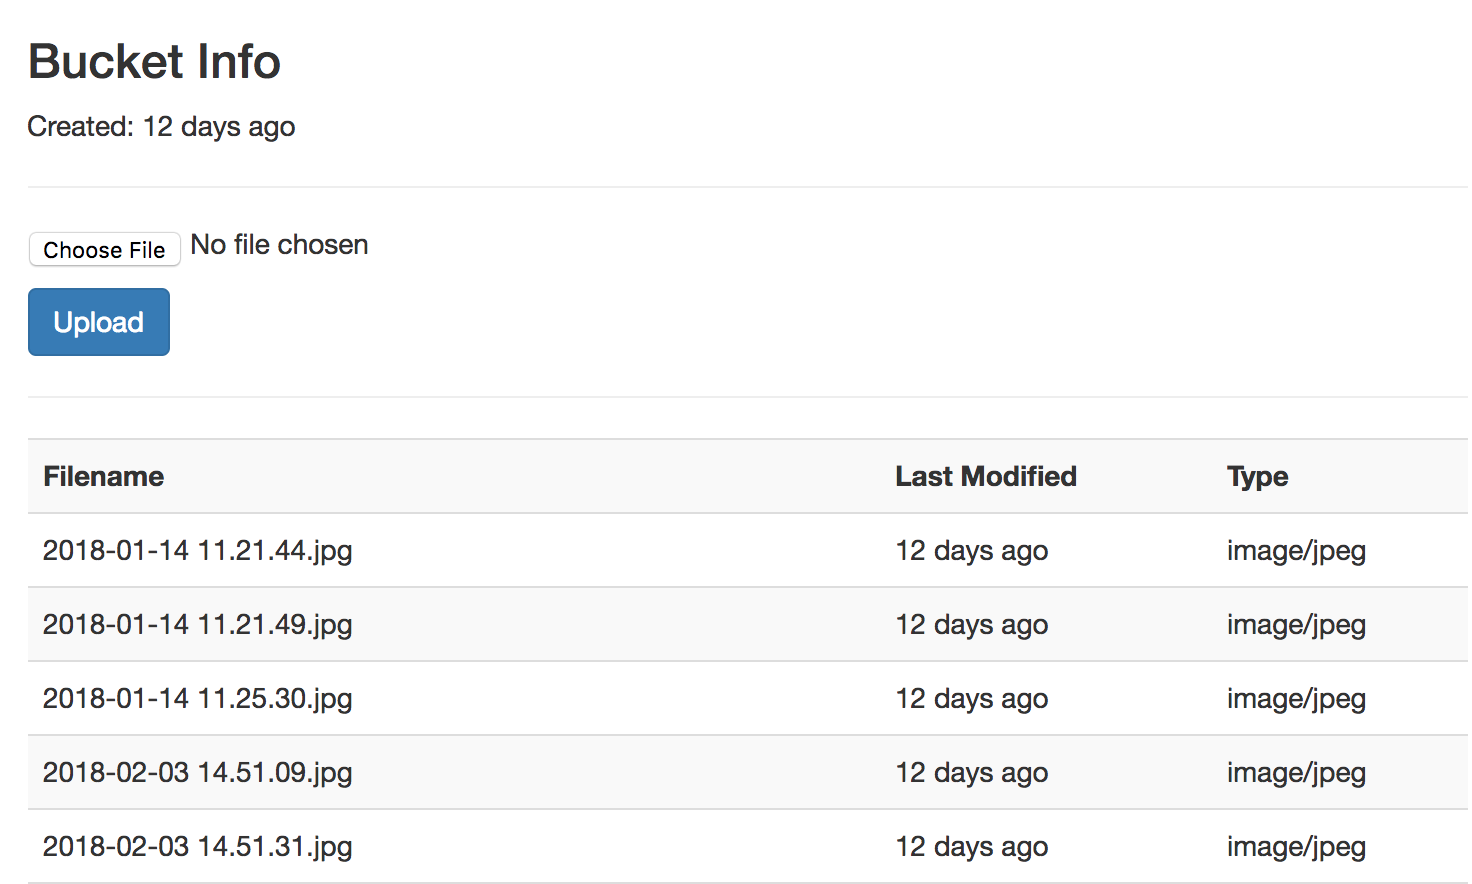
In Part 2, we got our S3 bucket setup and we got to a point where we could view a list of the objects we already had in our bucket. We’ll begin this next part by creating a form to upload a new file to store in the bucket. Let’s add the upload form just above the table in our files template:
templates/files.html
...
{% block content %}
  <div class="container">
    <div class="col-12-xs">
      <h3>Bucket Info</h3>
      <p>Created: {{ my_bucket.creation_date | datetimeformat }}</p>
      <hr>

      <form class="upload-form" action="/upload" method="POST" enctype="multipart/form-data">
        <p><input type="file" name="file"></p>
        <button type="submit" class="btn btn-primary">Upload</button>
      </form>
      <hr>

      <table class="table table-striped">
...

Notice that our form action will post to /upload. So, we’ll need a new route to handle that. Let’s return to app.py to set this up:
app.py
from flask import Flask, render_template, request

...

@app.route('/upload', methods=['POST'])
def upload():
    file = request.files['file']

    s3_resource = boto3.resource('s3')
    my_bucket = s3_resource.Bucket(S3_BUCKET)
    my_bucket.Object(file.filename).put(Body=file)

    return "uploaded"
...
In order to handle the posted form data, we need to import the request object. The request.files MultiDict will contain a key of “file”, matching the form input field name of our upload form. This file will be a FileStorage object from the Werkzeug module which is installed automatically as a Flask dependency.
Since the file contents will be stored in memory when the code executes, we’ll need to handle it differently when transferring it to S3 since it’s not sitting on the file system.
Now, if we upload a file, it will work and will be visible within the Amazon S3 console and our files page if we return to it. Currently, we will only see “upload” without any html rendering. So, we should setup a redirect to return to our file page. We need to import redirect and url_for to implement the redirect.
app.py
from flask import Flask, render_template, request, redirect, url_for

...

@app.route('/upload', methods=['POST'])
def upload():
    file = request.files['file']

    s3_resource = boto3.resource('s3')
    my_bucket = s3_resource.Bucket(S3_BUCKET)
    my_bucket.Object(file.filename).put(Body=file)

    return redirect(url_for('files'))
...
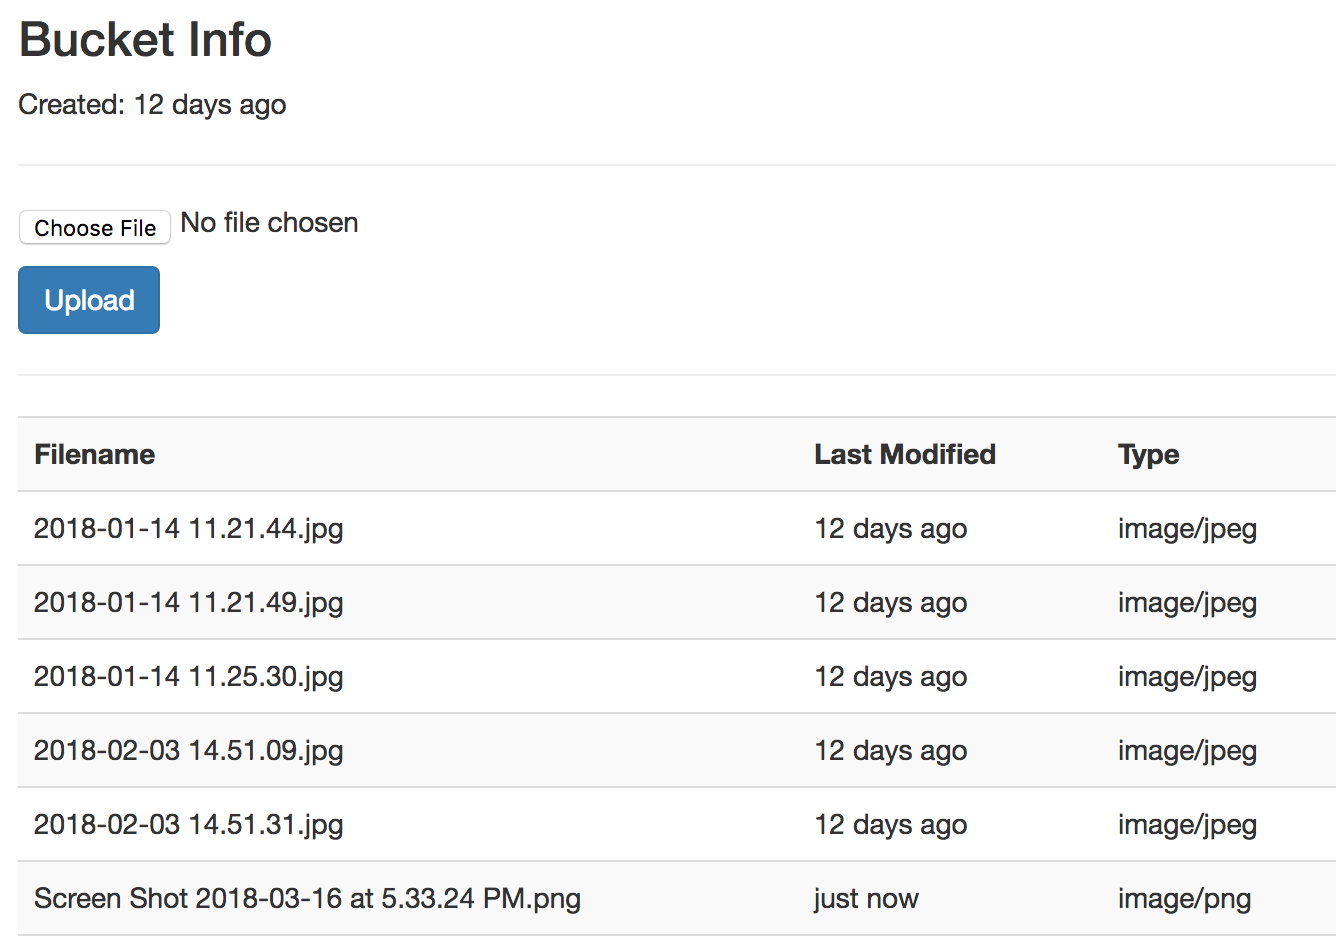
If we upload another file, we should automatically see the new file we uploaded:

The url_for helper method can also be used in our templates. If we return to the files template, we can update our upload form.
templates/files.html
...
<form class="upload-form" action="{{ url_for('upload') }}" method="POST" enctype="multipart/form-data">
  <p><input type="file" name="file"></p>
  <button type="submit" class="btn btn-primary">Upload</button>
</form>
...
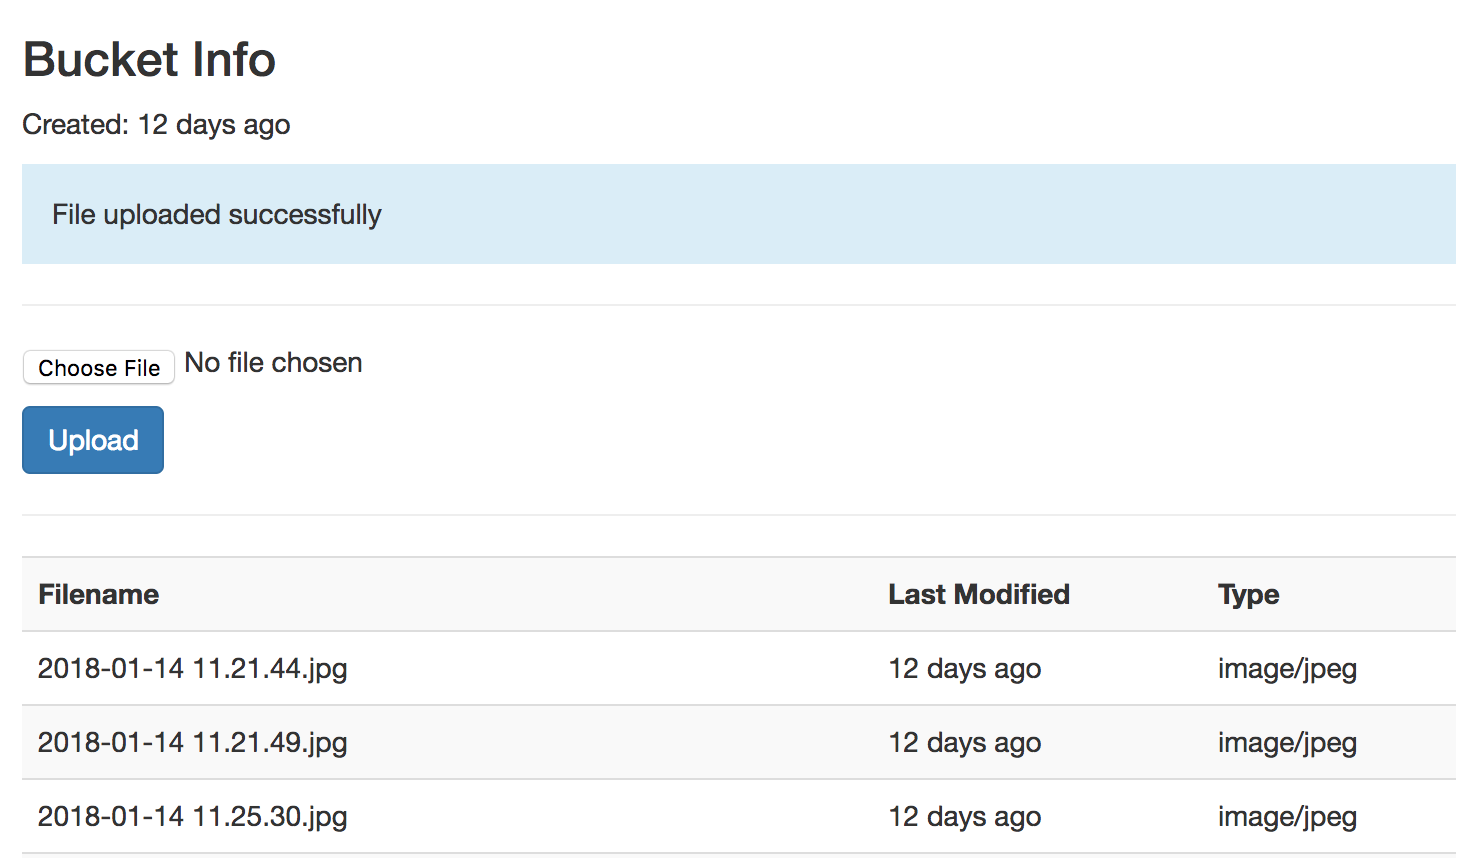
After we upload a file and get redirected, it would be nice if we were notified that our file upload was successful. Let’s add a flash message for this. Flask makes this very convenient since it has flash messages already built in.
We need to do one thing before putting in the flash message. Flask requires use to set the app secret_key, otherwise we’ll get an error letting us know the session is unavailable. All we need to do is set the secret_key property:
app.py
...
app = Flask(__name__)
Bootstrap(app)
app.secret_key = 'secret'
app.jinja_env.filters['datetimeformat'] = datetimeformat
app.jinja_env.filters['file_type'] = file_type
...
app.py
from flask import Flask, render_template, request, redirect, url_for, flash

@app.route('/upload', methods=['POST'])
def upload():
    file = request.files['file']

    s3_resource = boto3.resource('s3')
    my_bucket = s3_resource.Bucket(S3_BUCKET)
    my_bucket.Object(file.filename).put(Body=file)

    flash('File uploaded successfully')
    return redirect(url_for('files'))
In order to display the flash messages, we’ll need to make changes in our files template.
...
{% block content %}
  <div class="container">
    <div class="col-12-xs">
      <h3>Bucket Info</h3>
      <p>Created: {{ my_bucket.creation_date | datetimeformat }}</p>

      {% with messages = get_flashed_messages() %}
        {% if messages %}
          <p class="bg-info" style="padding: 15px;">
          {% for message in messages %}
            {{ message }}<br>
          {% endfor %}
          </p>
        {% endif %}
      {% endwith %}
      <hr>

      <form class="upload-form" action="{{ url_for('upload') }}" method="POST" enctype="multipart/form-data">
        <p><input type="file" name="file"></p>
        <button type="submit" class="btn btn-primary">Upload</button>
      </form>
      <hr>
...
Using a context manager “with” to check for flash messages, we want to prevent any errors if there are no messages. Also, this will prevent any errors within this block from affecting the rest of the page. We will also use Bootstrap’s built-in info background to give our messages a light blue box to make the message noticeable.

In the next part of this series, we will add new features to download and delete objects in our S3 Bucket.