Flask with Amazon S3 Part I
Seting Up the Flask Application
This is part 1 of a series in which we’ll be build a Flask app to work with files on Amazon S3 using the boto3 package.
Although there are a myriad of reasons and use cases to use Amazon S3, this project will be a simple and straightforward way to view, upload, download, and delete files on S3 using a Flask interface.
We will begin by getting Flask, Bootstrap and a virtual environment up and running.
To setup a new project, let’s create a new directory and cd into it:
mkdir flask-s3-browser
cd flask-s3-browser
In this next set we will setup an isolated environment to keep this project’s dependencies separate from our global Python dependencies. If you have not done so already, install virtualenv using pip: pip install virtualenv. (More on virtual environments.)
Note: I’m basing mine off my Homebrew-installed version of Python 3.
virtualenv -p python3 venv --always-copy
source venv/bin/activate
Since your virtual environment is in our project directory, this would be a good time to setup our .gitignore file to prevent the virtual environment dependencies form being committed to our source control repo. We will add __pycache__ as well.
touch .gitignore
.gitignore
venv
__pycache__
We can install a few dependencies we know for sure we’ll need:
pip install flask
pip install flask-bootstrap
pip install boto3
Flask Bootstrap will handle loading Bootstrap for us from a CDN, so there will be just minimal configuration for us within our templates. In our project root, let’s create our first Python file (app.py).
touch app.py
To test our Flask installation, we will add a minimal amount of boilerplate code to get started:
app.py
from flask import Flask

app = Flask(__name__)


@app.route('/')
def index():
    return "Hello"


if __name__ == "__main__":
    app.run()
Before we run anything, we need to return to the terminal, setting a couple of environment variables. We will set an entry point for our Flask app with the debug mode set to “on”.
export FLASK_APP=app.py
export FLASK_DEBUG=1
No, we can try running our application:
flask run
If everything is working properly, we will see in the terminal that it’s running:
 * Serving Flask app "app"
 * Forcing debug mode on
 * Running on http://127.0.0.1:5000/ (Press CTRL+C to quit)
 * Restarting with stat
 * Debugger is active!
 * Debugger PIN: 192-473-935
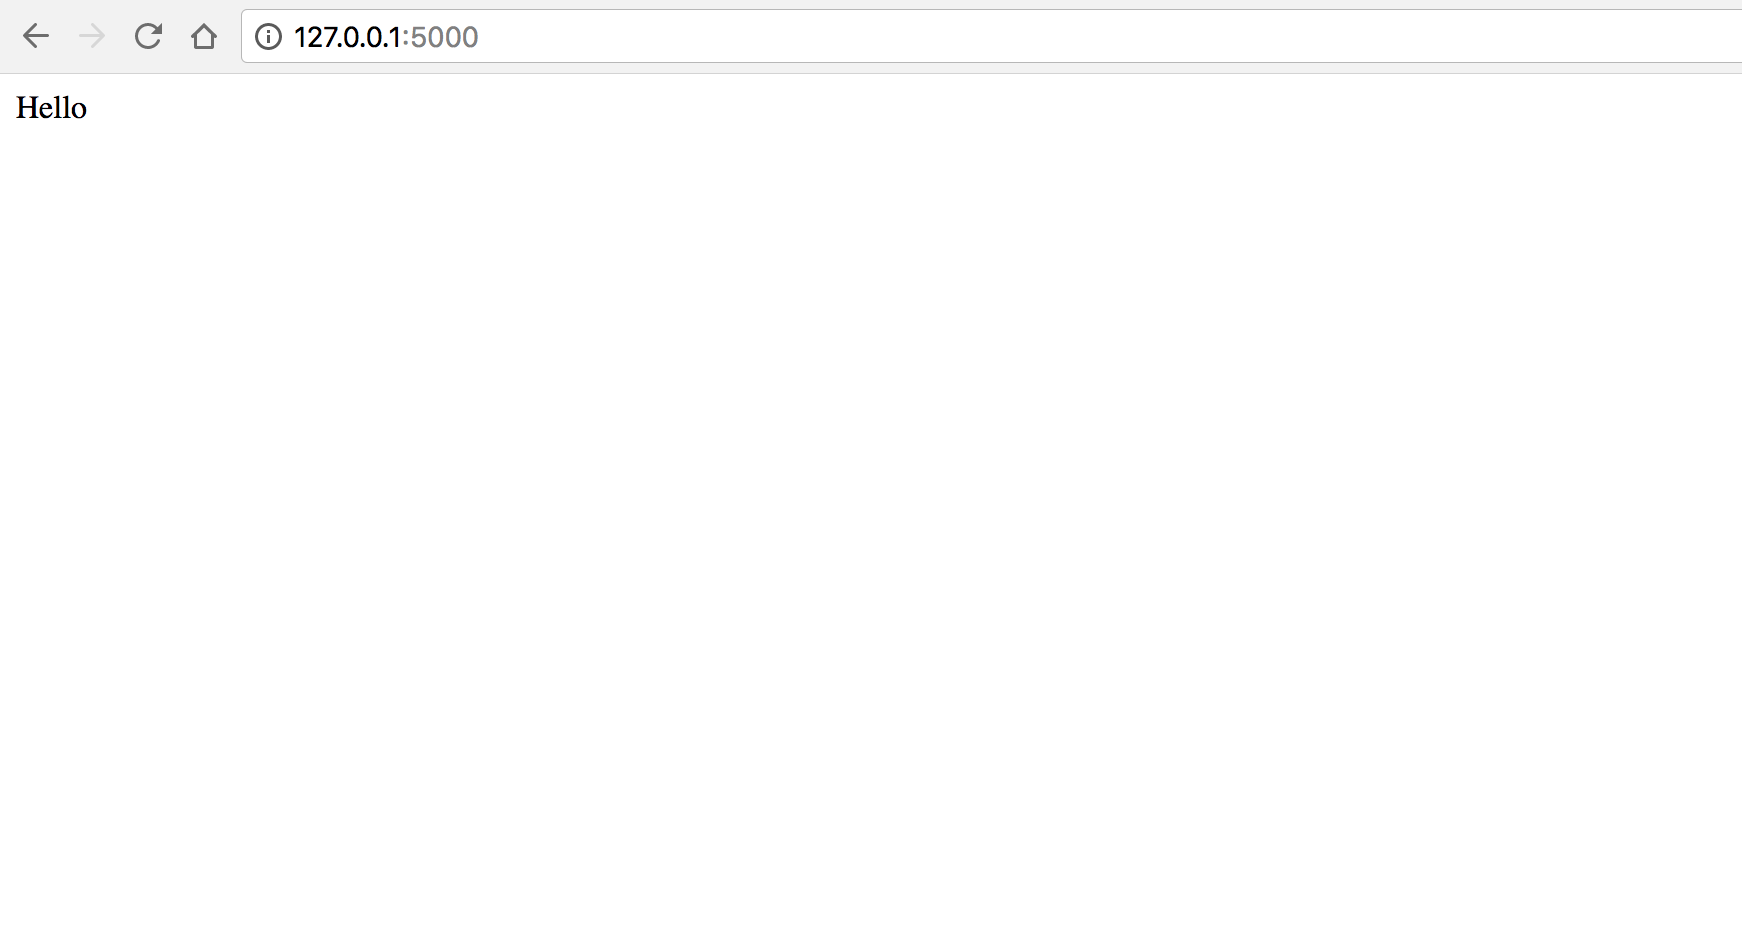
Loading http://127.0.0.1:5000/ in the browser should show our “hello” message.

Currently, we have Flask running but we have not included any templating or Bootstrap. We need to make a couple adjustments to get Bootstrap. To incorporate Bootstrap, we need to add a template and make a couple of changes to app.py.
Lets create a new templates directory:
mkdir templates
touch templates/index.html
Add the following boilerplate code to our new template file:
templates/index.html
{% extends "bootstrap/base.html" %}
{% block title %}This is an example page{% endblock %}

{% block navbar %}
<div class="navbar navbar-fixed-top">
  <!-- ... -->
</div>
{% endblock %}

{% block content %}
  <h1>Hello, Bootstrap</h1>
{% endblock %}
In app.py, our application entry point, we need to import render_template and our Bootstrap dependency. We will also need to create a new instance of the Bootstrap class.
app.py
from flask import Flask, render_template
from flask_bootstrap import Bootstrap

app = Flask(__name__)
Bootstrap(app)


@app.route('/')
def index():
    return render_template("index.html")


if __name__ == "__main__":
    app.run()
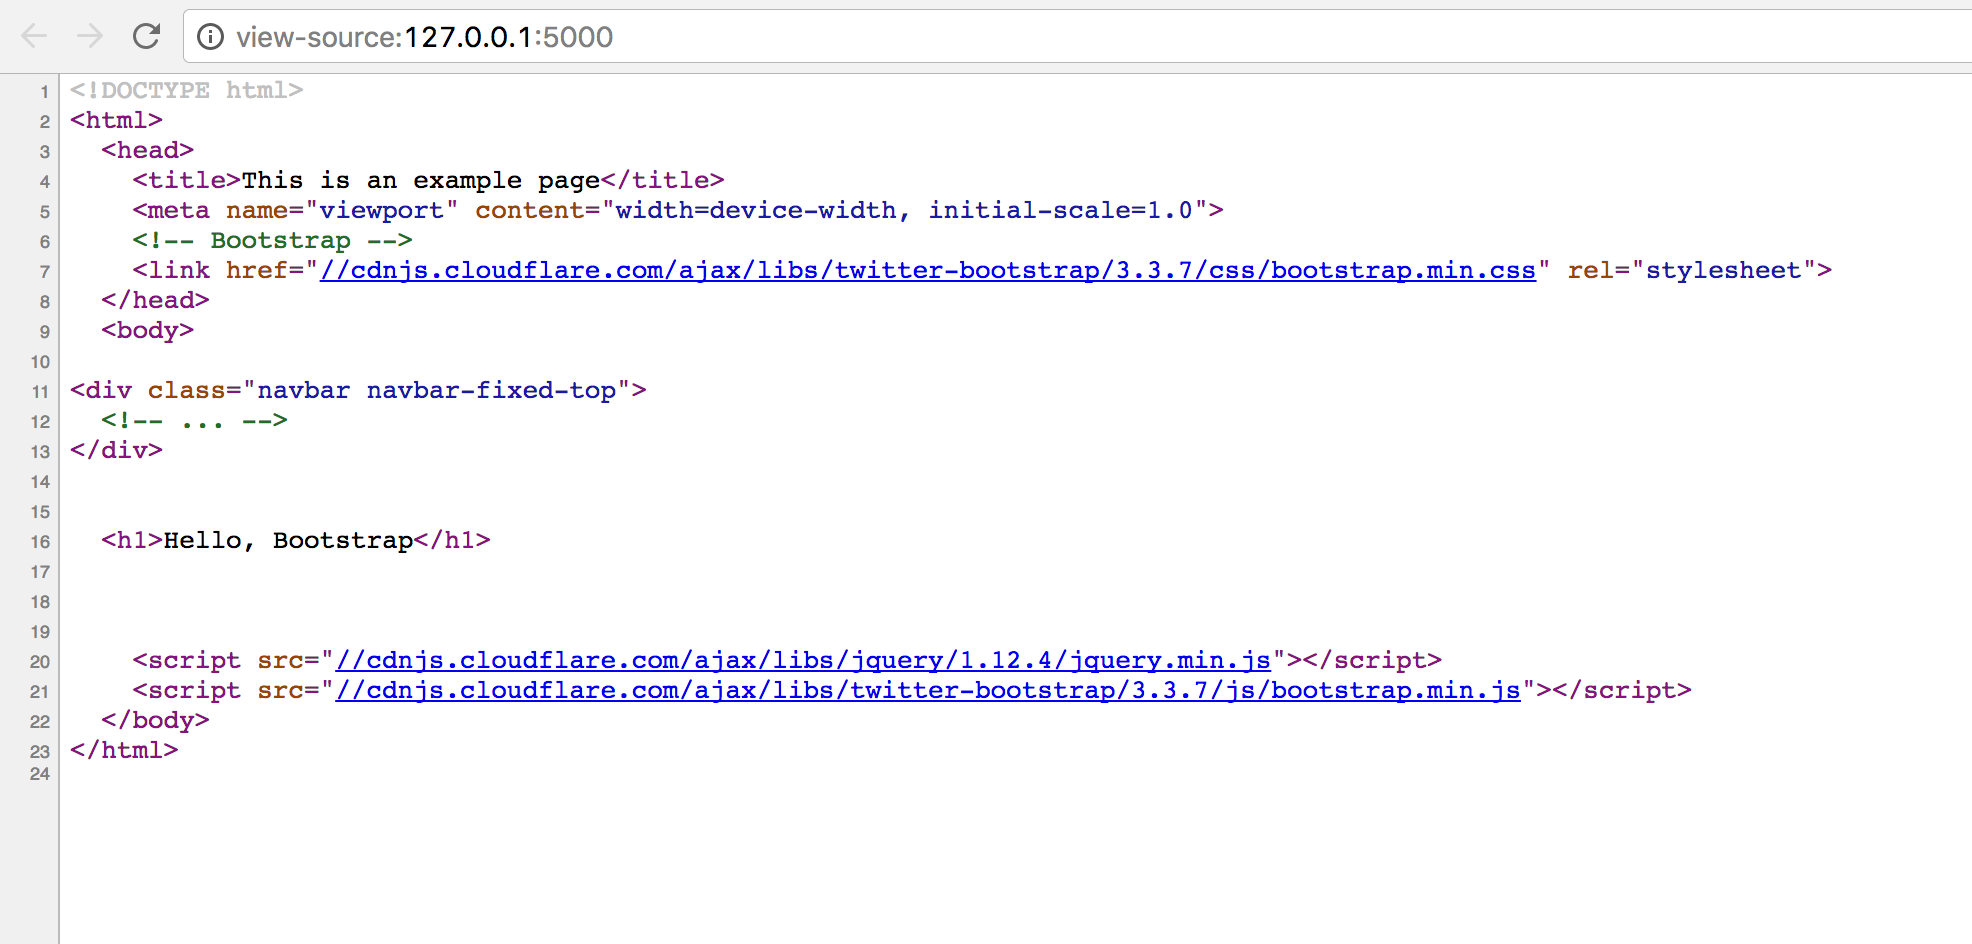
If the application is still running in the terminal in debug mode, you should be able to refresh and see the changes. The page will now display “Hello, Bootstrap”, however, you should be able to see that Bootstrap and jQuery have been loaded by viewing the page source.

The template (templates/index.html) uses the Jinja2 templating engine to extend a base html template given to use by Flask Bootstrap.
In the next part of this series, we will delve into getting our Amazon S3 bucket setup. This will include setting up the bucket itself, as well as setting up our environment variables setup to configure our integration with Amazon S3.