Web Animation Using jQuery
Although many folks claim jQuery is no longer relevant, consider the fact that it’s still being used in countless projects. Perhaps it’s a dependency requirement of a particular framework, or you have an older project you’re still building new features for.
It’s original purpose was built around being able to execute JavaScript reliably across different browsers. It’s an obvious truth that browser support has improved greatly over the years, making standard JavaScript a viable option.
In this post, we will mainly focus on creating animations using jQuery. Depending on your situation, jQuery, may or may not be the best option for implementing an animation. For example, you may be able to simply use CSS to meet your needs. Or, you may be using a different library such as Velocity or GSAP.
That being said, there is often a use for jQuery when creating animations. If you need more control over things like animation timing (i.e. pause, slow down, speed up, reverse), you can simply rely on variables to make these parameters dynamic. In addition, if you only need 1 or a few animations, it may not be worth importing another library.
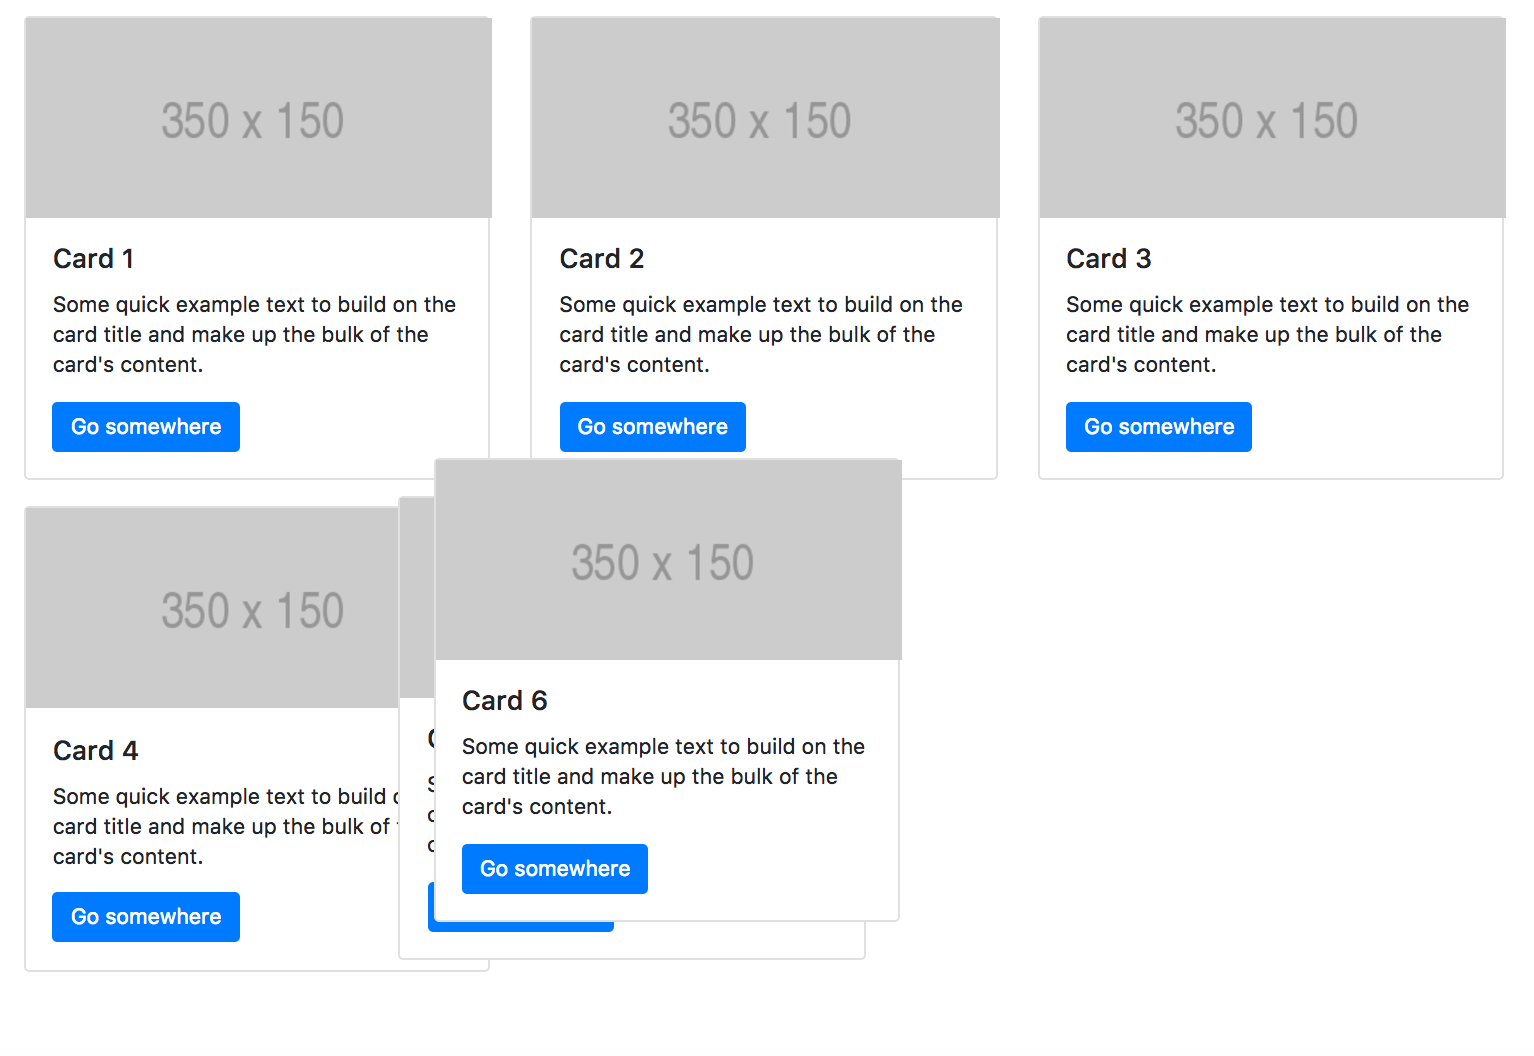
The animation examples covered in this post will make use of a Bootstrap 4 webpage using a couple rows of “cards”. A static illustration is displayed below:
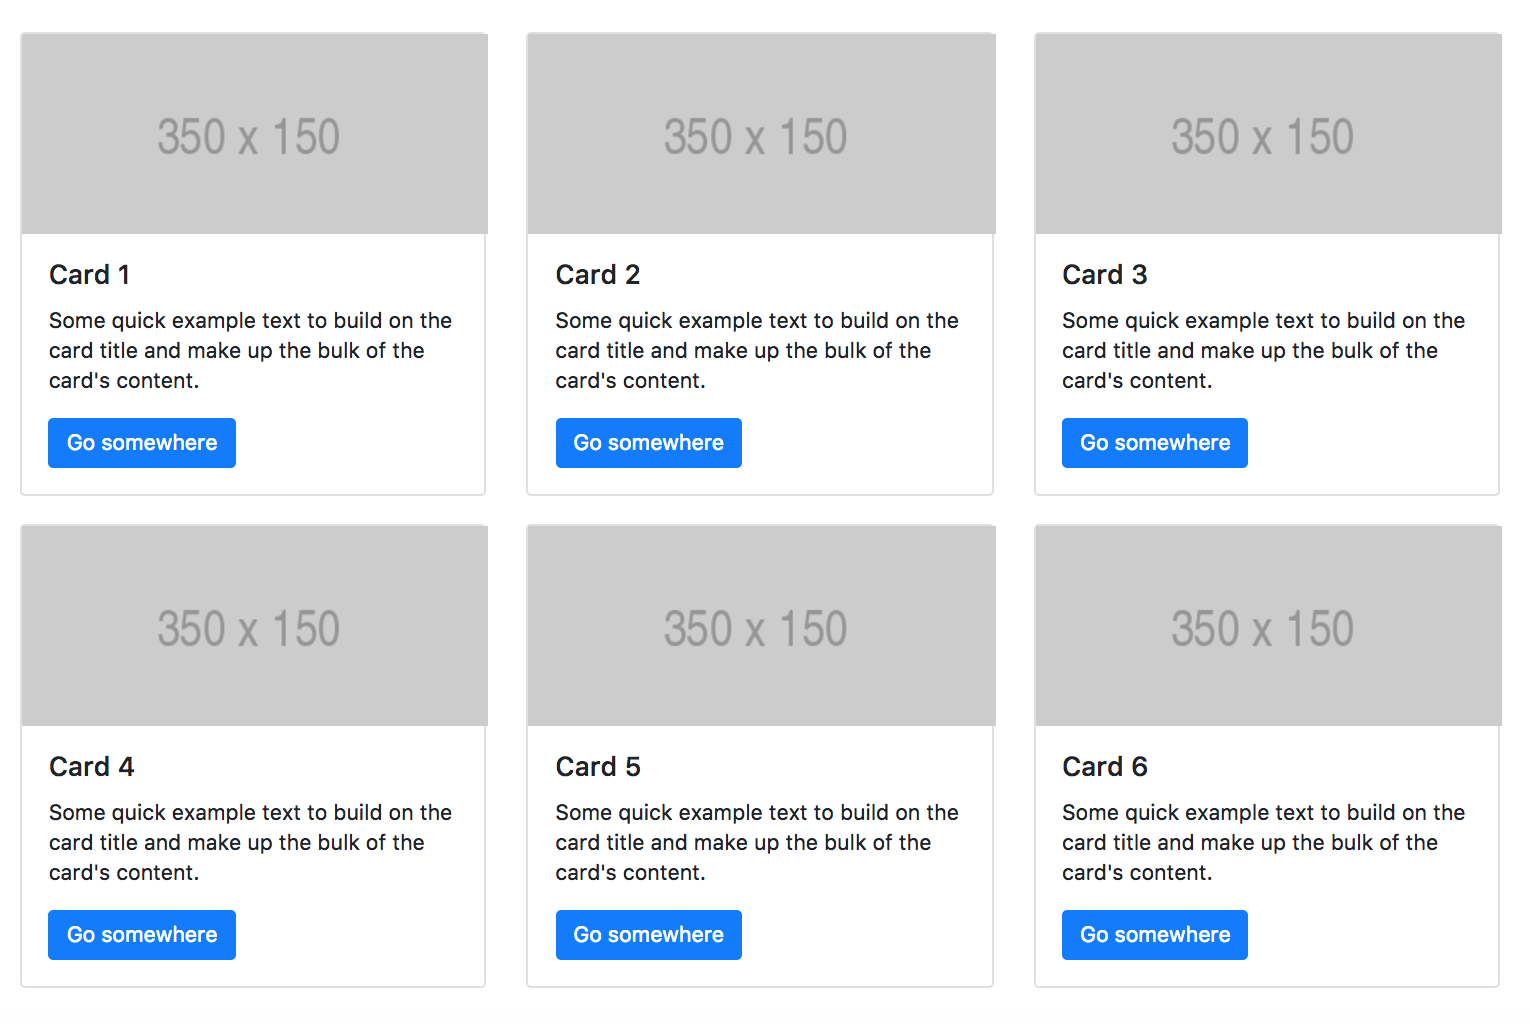 Setting up an initial page using Bootstrap is very easy. A “Starter Template” is provided on the Getting Started page. CND’s will be used to load the needed CSS and JS files. I have made a couple of modifications to this.
First, I added a “div” with the class of “container”. This gives the page a responsive, fixed-with container (more on containers can be found here: https://getbootstrap.com/docs/4.1/layout/overview/).
The second change I made involved switching the jQuery Slim version for the full jQuery version. Since we will be using animations, we need the full version of jQuery. The slim version is generally used when only a minimal number of jQuery features will be needed. In that case, the benefit would be the performance gained from having to download a smaller file.
Our modified starter template is displayed below:
<!doctype html>
<html lang="en">
  <head>
    <!-- Required meta tags -->
    <meta charset="utf-8">
    <meta name="viewport" content="width=device-width, initial-scale=1, shrink-to-fit=no">

    <!-- Bootstrap CSS -->
    <link rel="stylesheet" href="https://stackpath.bootstrapcdn.com/bootstrap/4.1.2/css/bootstrap.min.css" integrity="sha384-Smlep5jCw/wG7hdkwQ/Z5nLIefveQRIY9nfy6xoR1uRYBtpZgI6339F5dgvm/e9B" crossorigin="anonymous">

    <title>Hello, world!</title>
  </head>
  <body>
    <div class="container">
      <h1>Hello, world!</h1>
    </div>

    <!-- Optional JavaScript -->
    <!-- jQuery first, then Popper.js, then Bootstrap JS -->
    <script src="https://code.jquery.com/jquery-3.3.1.js" integrity="sha256-2Kok7MbOyxpgUVvAk/HJ2jigOSYS2auK4Pfzbm7uH60=" crossorigin="anonymous"></script>
    <script src="https://cdnjs.cloudflare.com/ajax/libs/popper.js/1.14.3/umd/popper.min.js" integrity="sha384-ZMP7rVo3mIykV+2+9J3UJ46jBk0WLaUAdn689aCwoqbBJiSnjAK/l8WvCWPIPm49" crossorigin="anonymous"></script>
    <script src="https://stackpath.bootstrapcdn.com/bootstrap/4.1.2/js/bootstrap.min.js" integrity="sha384-o+RDsa0aLu++PJvFqy8fFScvbHFLtbvScb8AjopnFD+iEQ7wo/CG0xlczd+2O/em" crossorigin="anonymous"></script>
  </body>
</html>
The next thing we will be adding is a section containing 6 Card Components. Since the image in the example is a relative path to an image file, we will use a placeholder image from placeholder.com. These placeholders are handy when setting up a new layout. They also have the added benefit of displaying the dimensions.
In addition to changing the image sources to the placeholder images, I will also change the card titles (H5 tags) to Card 1, Card 2, Card 3, etc. This will be necessary later on when we hide & remove cards. The full markup of our cards page can be found here: cards.html.
Show and Hide
Show and hide are heavily used in jQuery DOM manipulation. What many people don’t know is that you can pass in a duration to apply a very simple animation effect. Obviously, in order to show something, it must be hidden first. We can add some CSS (by setting the display property to none) to initially hide all the cards:
...
  <!-- Bootstrap CSS -->
  <link rel="stylesheet" href="https://stackpath.bootstrapcdn.com/bootstrap/4.1.1/css/bootstrap.min.css" integrity="sha384-WskhaSGFgHYWDcbwN70/dfYBj47jz9qbsMId/iRN3ewGhXQFZCSftd1LZCfmhktB"
    crossorigin="anonymous">
    <style>
    .card {
      margin-top: 20px;
      display: none;
    }
    </style>
  <title>Hello, world!</title>
</head>
...
Above: Adding CSS to a style tag in the header.
Notice that we also gave the cards some margin so there’s a separation when they wrap around to the second row.
At this point, can can add a script to the page, starting with the ready() function. The ready function is needed to make sure all the HTML document elements have been loaded on the page.
...
  <script>
    $(document).ready(function() {
      // code will go here
    });
  </script>
</body>

</html>
We want to make sure our script is added just before the closing body tag. The other script tags, particularly jQuery, need to get loaded first since the code we need to write is dependent on jQuery.
Since our goal in this tutorial is to reveal the cards one-by-one, we can setup a jQuery selector to get all the card elements on the page. All the card elements have a class of “card”. We will give it a duration of 1000. All durations used with jQuery will be in milliseconds, so a duration of 1000 will be 1 second.
$(document).ready(function() {
  $('.card').each(function () {
      $(this).show(1000);
  });
});
In the snippet above, passing in the optional duration will result in the width, height, and opacity being changed simultaneously. When running the code, you’ll notice the element will be revealed starting with the top-left corner. As the width and height amount expand towards the actual size, the element will be fully revealed to the bottom-right corner by the end of the animation.
If using the show method is used without any parameters passed in, the element will be shown instantly because there will be no animation done under the hood. Instead, the hidden element CSS will simply be changed to “display: block”.
Even though we’re looping through each card, the cards appear to show all at the same time. This is because the loop is happening very fast. So, to fix this problem we need to add a delay. setTimeout is a built-in JavaScript function that comes in handy for situations like this.
Let’s go ahead and make the adjustment:
$(document).ready(function() {
  var interval = 100;

  $('.card').each(function () {
      var self = this;
      setTimeout(function() {
          $(self).show(1000);
      }, interval);

      interval += 200;
  });
});
As you can see from above, there were actually several changes made. First, we needed to declare an interval as a variable outside the each loop. Since the entire loop happens in less than a split second, we need to keep increasing the delay time. This is necessary to give use the desired visual effect of Card 1 loading first, followed by Card 2, etc.
The second thing we needed when implementing the delay was to set the card element to a variable. In the global scope, this will refer to the window object. Within our each loop, this will refer to the card element, provided we’re not inside another anonymous function. Since the first argument for setTimeout is indeed another anonymous function, this will no longer refer to the card element. We can get around this problem by setting it to another variable first.
Hiding Elements
The jQuery hide method is similar to show in that we can simply pass in a duration to convert it to an animation. For this tutorial, we’ll add a click handler to the card to hide it whenever the user clicks on it. We can add a jQuery click handler to our script:
$(document).ready(function() {
  ...

  $('.card').on('click', function() {
      $(this).hide(1000);
  });

});
By clicking on any element, the animation will involve transitioning the height, width, and opacity; the exact reverse of using the show method as an animation.
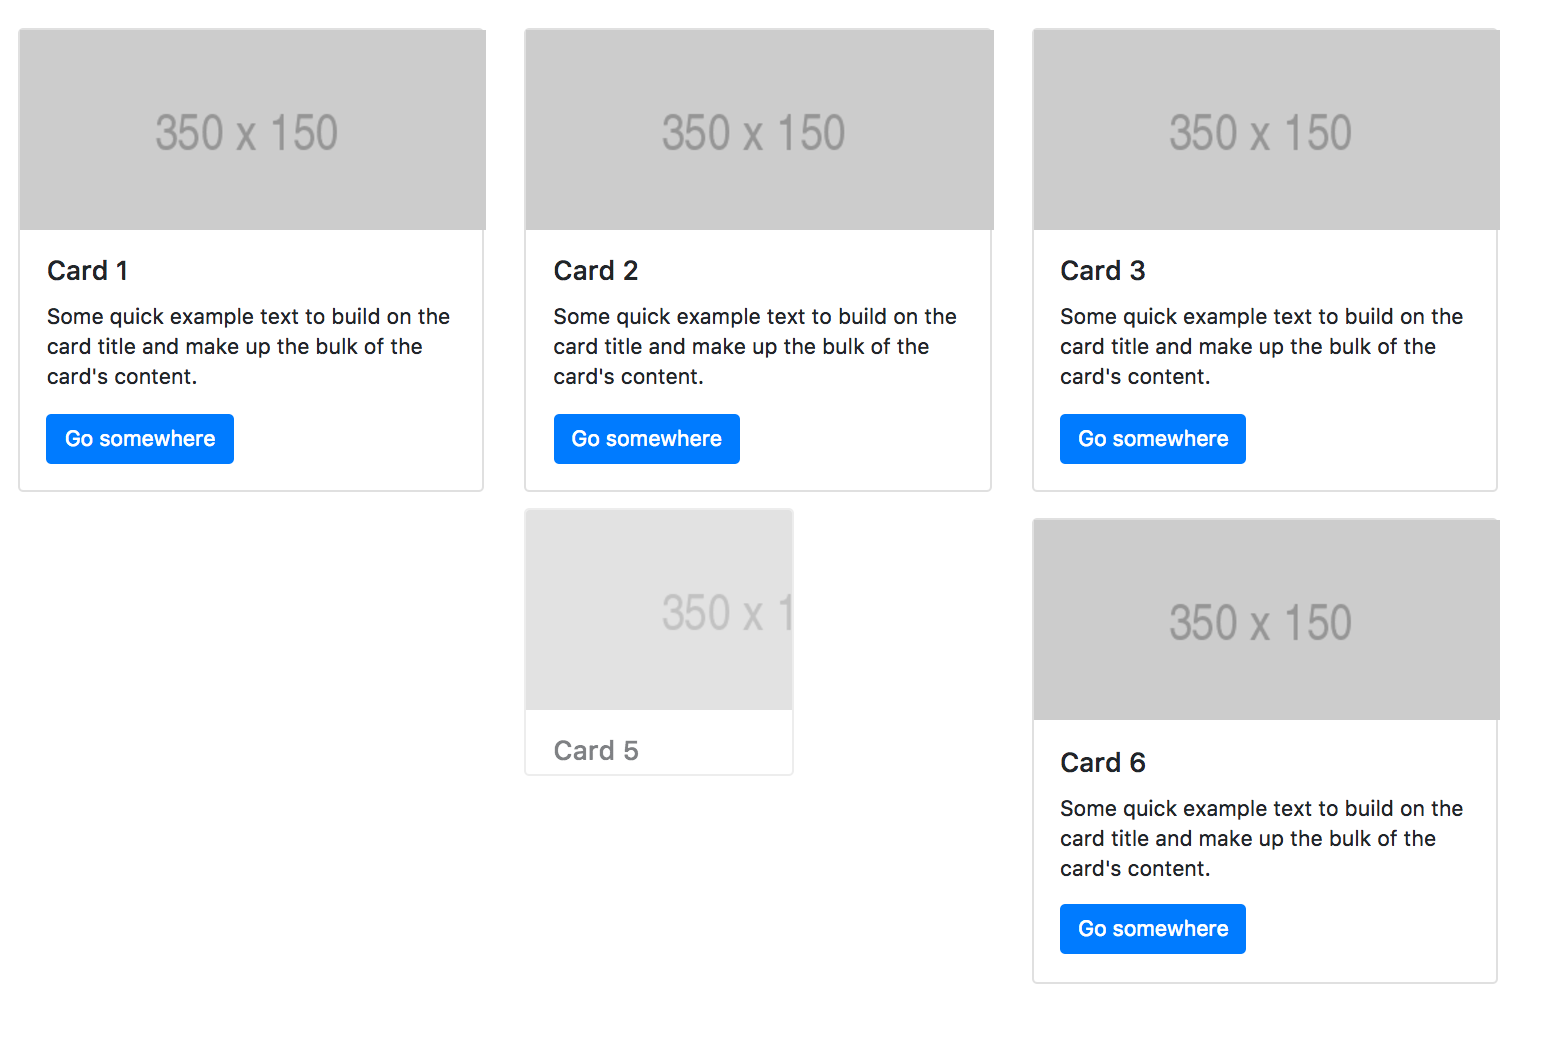
Above: clicking a card will hide the element. However, the element is still there. We can improve this by removing the elements once they are hidden. This will get rid if the empty spaces, condensing all the cards together.
The first step in making this improvement will involve moving the click handler to the class of the parent element. Each card has a parent div with a class of “col-md-4”, which is using the Bootstrap grid system. If we don’t move the click handler to the grid column elements, the card will be removed, but the parent div tag will still remain, still leaving us with empty space.
$(".col-md-4").on('click', function() {
    $(this).hide(1000);
});
Above: moving the click handler to the parent element will give us the same visual effect as before. At this point, we can add a couple of enhancements to remove the elements.
The hide method, in addition to duration, as a couple more optional parameters. The second parameter is the easing function, with “swing” being the default. Since we ultimately need to pass in the third option (which is a callback function when the animation is complete), we have to manually pass in a second parameter as well. We will pass in a string value of “linear” to change the easing function. Finally, we can focus on our callback function, triggered when the animation is complete.
$(".col-md-4").on('click', function() {
    $(this).hide(400, 'linear', function() {
        // animation is complete
        $(this).remove();
    });
});
Above: the jQuery remove function is used once hide animation completes. The visual effect we get from this will be the cards “shifting” when another is removed, leaving no empty spaces.
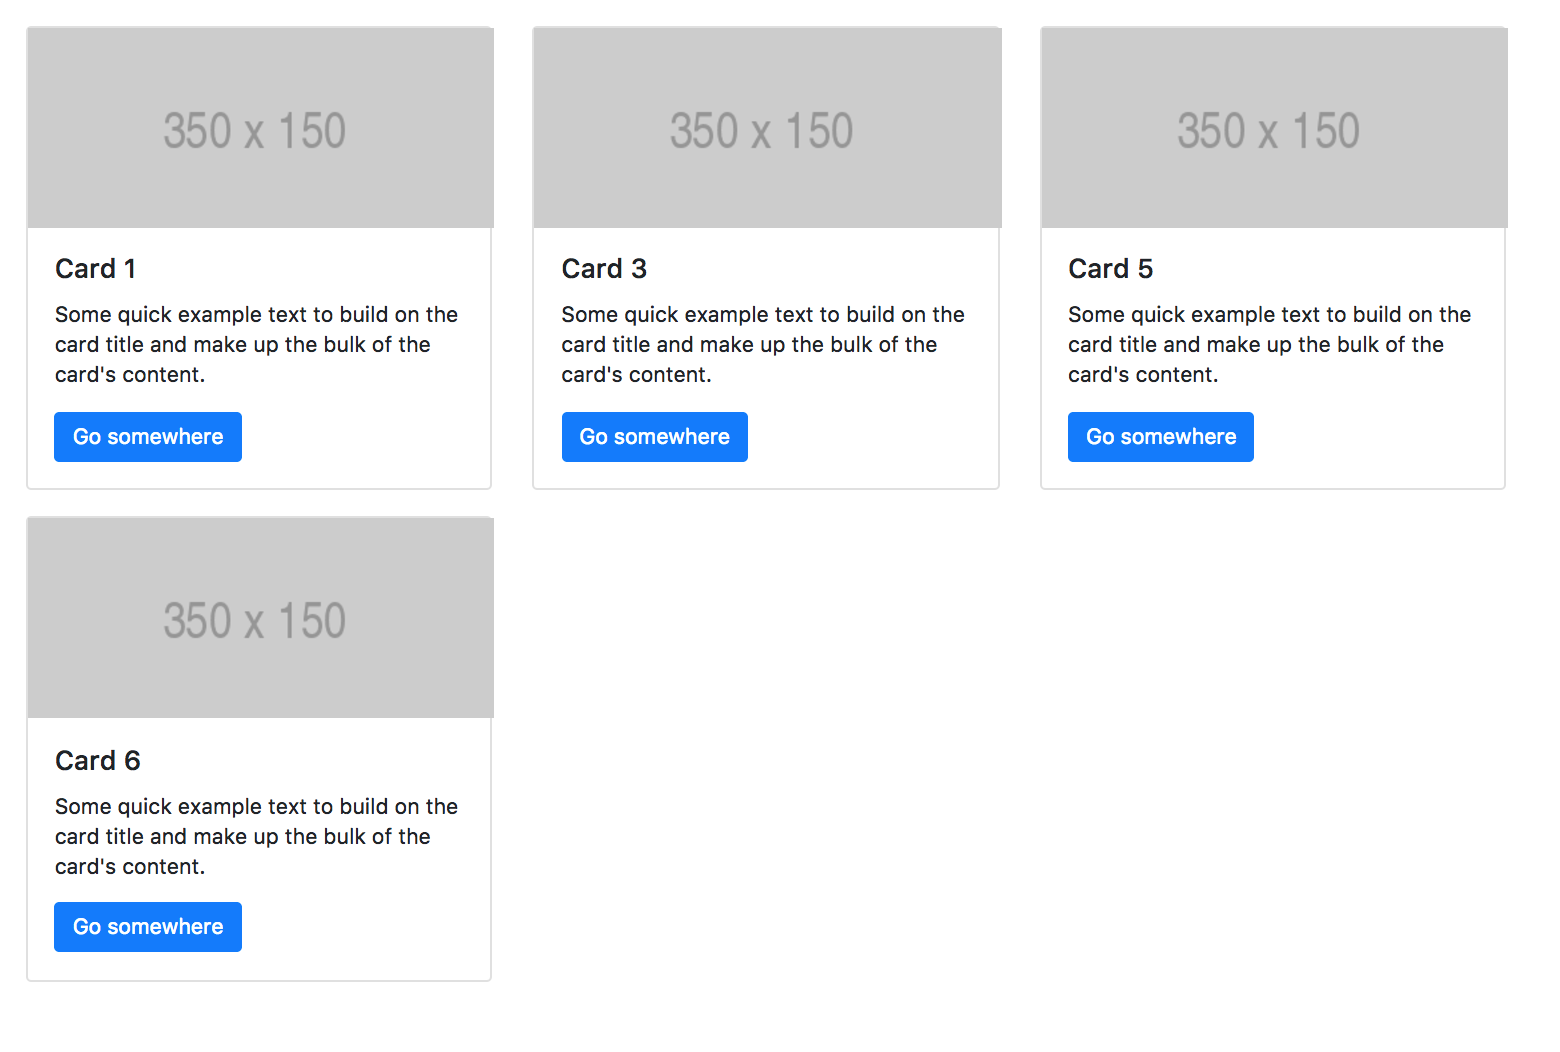 The source code for the
 show and hide animations can be found here: https://github.com/kishstats/jquery-animation/blob/master/cards.html.
Fading Effects
In this example, I’m going to modify the page to use fading effects. This can be easily done with a single line of code. Instead of using the show method, we will use the fadeIn method. This method is a handy shortcut that changes the opacity. The same thing could be accomplished using the animate method, but this is shorter and easier to implement.
<script>
  $(document).ready(function() {
    var interval = 100;

    $('.card').each(function () {
        var self = this;
        setTimeout(function() {
            $(self).fadeIn(400);
        }, interval);

        interval += 200;
    });

  });
</script>
Above: switching $(self).show(1000); to $(self).fadeIn(400); will give us a nice fading in effect.
Another change we could make to our previous example is to change the click handler for removing a card to a fade out animation. This can also be done with a single line of code.
$(".col-md-4").on('click', function() {
    $(this).fadeOut(400, 'linear', function() {
        $(this).remove();
    });
});
The different animation methods have similar implementations when it comes to passing in optional parameters. Similar to using hide, we can pass in a duration, an easing method, and a callback function that gets triggered when the fading out animation has completed.
Before we get to the next example, I’m going to remove the code that fades out and removes the card. This is going to be replaced with a fadeTo method, which gives us the ability to fade out to a specific opacity and then stop. This is particularly useful when creating a visual disabling effect.
Since duration is the first parameter, we must supply a value. The second argument will the opacity in which we want to fade the element to. For this, we need to pass in a value between 0 and 1. We will use 0.3 in this case. If we were to pass in a value of 0, it would fade out completely.
$(".card").on('click', function() {
  $(this).fadeTo(400, 0.3);
});
The fadeTo method gives us a nice “disabling” effect each time we click on a card:
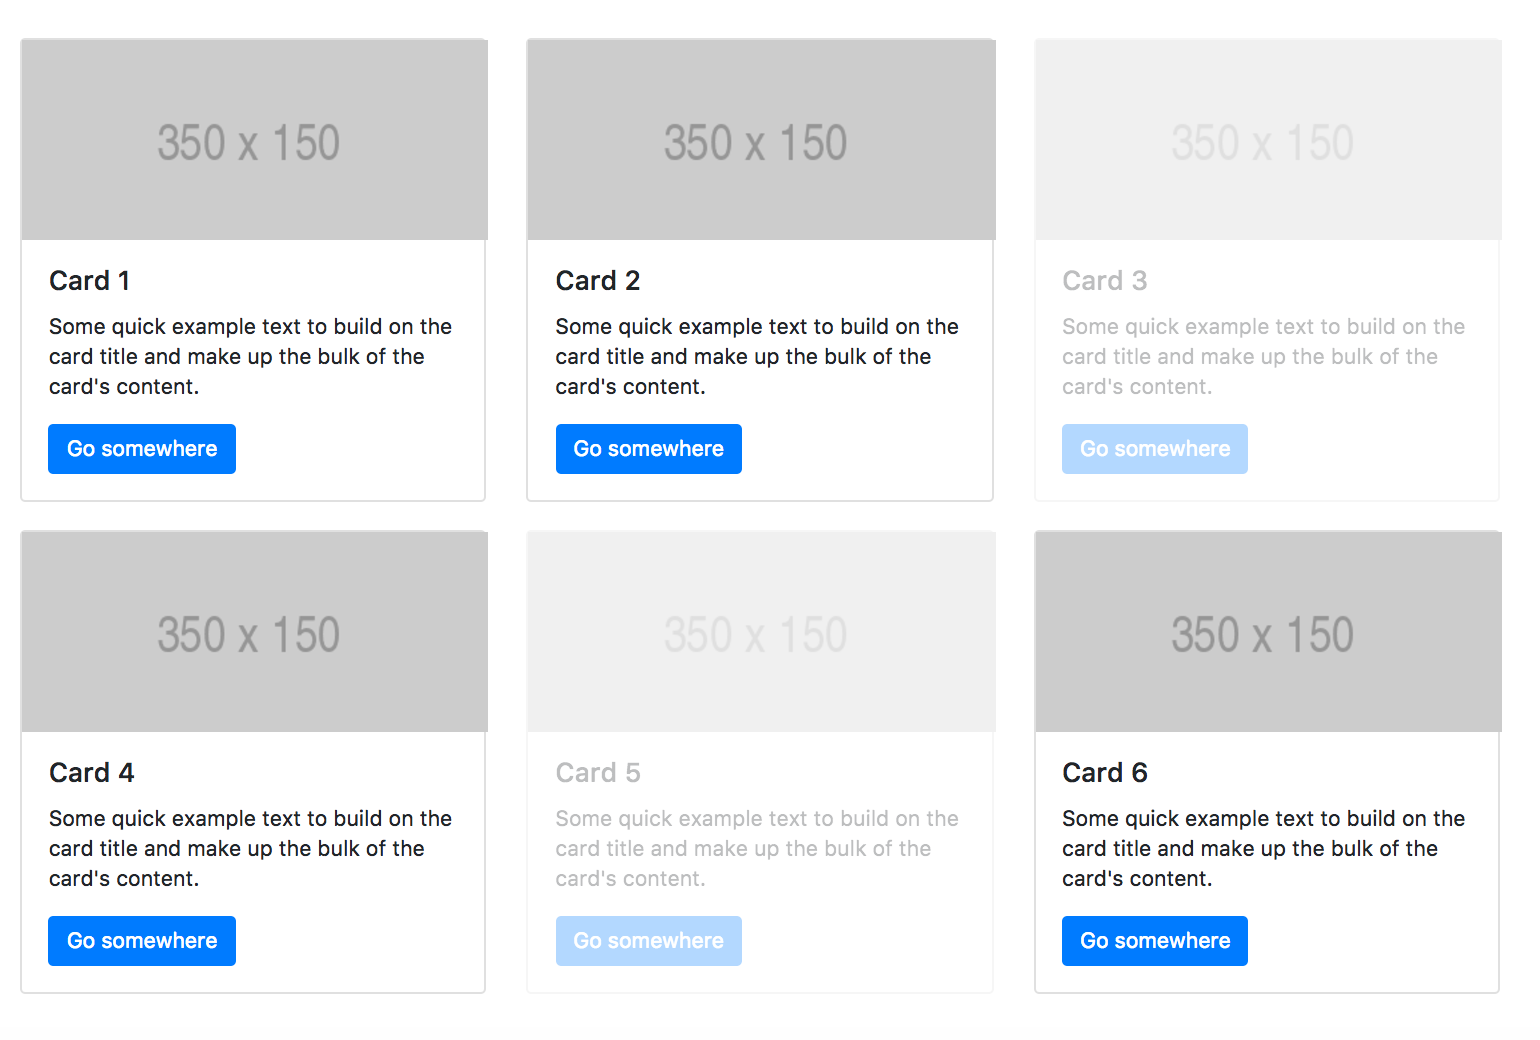 The source code for the fading effects be found here: https://github.com/kishstats/jquery-animation/blob/master/fade-effects.html.
Sliding Effects
Sliding effects are another option we can use for animations. jQuery makes this easy also since most effects are implemented similarly. In order to convert our fading effects to sliding effects, we only need to change a couple lines of code.
When we first load the page, we can change $(self).fadeIn(); to $(self).slideDown(); inside of our delay function. Second, we can convert our original fadeOut to slideUp. Sliding the element down will show the element, while slide up will hide it.
<script>
  $(document).ready(function() {
    var interval = 100;

    $('.card').each(function () {
        var self = this;
        setTimeout(function() {
            $(self).slideDown();
        }, interval);

        interval += 200;
    });

    $(".col-md-4").on('click', function() {
        $(this).slideUp(400, 'linear', function() {
            $(this).remove();
        });
    });

  });
</script>
Above: this will load all the cards by sliding them in one-by-one. Clicking a card will cause the card to slide up (to hide it), then the card will be removed.
The source code for the sliding effects be found here: https://github.com/kishstats/jquery-animation/blob/master/slide-effects.html.
jQuery Animate Method
Although we’ve been using the shortcuts for show, hide, fading, and sliding, we can alternatively use the jQuery animate method in order to accomplish the same thing. Animate is capable of handling more complex animations since it has the ability modify any CSS property.
In the previous example, we were sliding in all the cards using the slideDown method. We can switch this to use the animate method and slide everything in from the top-left corner. An object is the first parameter for the animate method. This object will contain all the properties we wish to manipulate. In this example, we will set the height and width properties to “toggle”. The second parameter is the duration. Previously, we had been given all these a value in milliseconds. However, we can also pass in string values of “fast” and “slow”. We will use “fast” for this example:
$(document).ready(function() {
    var interval = 100;

    $('.card').each(function () {
        var self = this;
        setTimeout(function() {
            $(self).animate({
              height: 'toggle',
              width: 'toggle'
            }, 'fast');
        }, interval);

        interval += 200;
    });
...
For this next animation, we will add a button that will remove all cards from the page. Just inside our container we will insert our “Remove All” button. We will give it an additional class of btn-remove-cards which we’ll be adding a click handler to.
<div class="container">
    <div class="row">
      <h2>Animate Method</h2>
      <div class="col-md-12">
        <button class="btn btn-primary btn-remove-cards">Remove All</button>
      </div>
      <hr>
    </div>
Let’s go ahead and setup our click handler:
$('.btn-remove-cards').on('click', function() {
   // animation code will go here
});
Since we’re already animating the cards by sliding them in one-by-one, we’ll implement an animation that will slide the cards off the page, starting with the last card. The trickiest part will be modifying our jQuery selector to reverse the order in which we’ll be looping through the cards.
$('.btn-remove-cards').on('click', function() {
   $($(".card").get().reverse()).each(function () {

   });
});
Above: to reverse the order of the cards, we use a jQuery selector to get the card elements. The get method is chained to the selector, along with a reverse method. At this point we have an array of elements in reverse order. We now have to wrap this in it’s own jQuery selector and chain the each method onto it.
Since we will be sliding off the cards one-by-one, we will need to setup a variable containing our interval for delaying the animations for individual cards, similar to when we load the cards:
$('.btn-remove-cards').on('click', function() {
  // our new interval value
  var slideOffInterval = 100;
  $($(".card").get().reverse()).each(function () {
      var self = this;
      setTimeout(function () {
          // animation will go here
      }, slideOffInterval);

      // we need to add to our interval to delay each subsequent card
      slideOffInterval += 200;
  });
});
Inside of our setTimeout function we’re now ready to add the animation code. The properties we will be changing are the “left” and “top” properties. When setting a value to the left property, the amount is the distance from the left edge. So, in order to move the element to the left, we will need to supply a negative value. Applying a value of -2500 will be more than enough to slide the card off the page.
We will also manipulate the top property so we can give it an effect that the card will slide up and to the left. For this, a value of “-=200” will move it 200 pixels above it’s current position:
$('.btn-remove-cards').on('click', function() {
  var slideOffInterval = 100;
  $($(".card").get().reverse()).each(function () {
      var self = this;
      setTimeout(function () {
          $(self).animate({
              left: "-2500px",
              top: "-=200",
          }, slideOffInterval);
      }, slideOffInterval);

      slideOffInterval += 200;
  });
});
 Source code for the animate method: https://github.com/kishstats/jquery-animation/blob/master/animate.html.
Toggle Effects
The final animation methods that we’ll be covering in this post will be the toggle animations. The toggle effects have a nice feature in that we don’t need to keep track of whether the element is visible or not. It it’s visible it will hide it, and vice versa.
In the top section, I’m going to add three buttons (each will have a different animation effect):
<div class="container">
    <div class="row">
      <h2>Toggle Effects</h2>
      <div class="col-md-12">
        <button class="btn btn-primary btn-fade-toggle-cards">Fade Toggle</button>
        <button class="btn btn-primary btn-slide-toggle-cards">Slide Toggle</button>
        <button class="btn btn-primary btn-toggle-cards">Just Toggle</button>
      </div>
      <hr>
    </div>
...
Let’s start by setting up our fade toggle animation. First, we need a click handler for the “Fade Toggle” button.
$(".btn-fade-toggle-cards").on('click', function(event) {
    // animation will go here
});
Since our cards are wrapped inside a section tag with an id of “card-section”, we can make the entire array of cards fade out:
$(".btn-fade-toggle-cards").on('click', function(event) {
	$("#card-section").fadeToggle(1000);
});
Now, clicking the “Fade Toggle” button will hide/show the cards using a fading effect. Next, we can do something similar with our “Slide Toggle” button. Let’s add our click event handler with a sliding animation.
$(".btn-slide-toggle-cards").on('click', function(event) {
    $("#card-section").slideToggle(1000);
});
Finally, we’ll put in one last animation using the toggle method. This method is similar to show/hide in that the width, height, and opacity are being changed simultaneously.
$(".btn-toggle-cards").on('click', function(event) {
    $("#card-section").toggle(1000);
});
Now, our three buttons each have their own separate toggle animation. They can also be used interchangeably. For instance, you can click “Fade Toggle” to hide the cards. Then, “Slide Toggle” or “Just Toggle” can be used to make them reappear. This is all done without the need to keep track of whether the element is visible.
In this tutorial, we examined some handy animation options that jQuery offers. Depending on your specific use case, there may be other options for putting in animations, such as CSS. That being said, jQuery is still commonly used in many projects and can give some added flexibility including setting up animations based on user events, and additional control over the animations themselves.
Posted in motion design, javascript